从 UIKit 到 Cocoa 框架移植

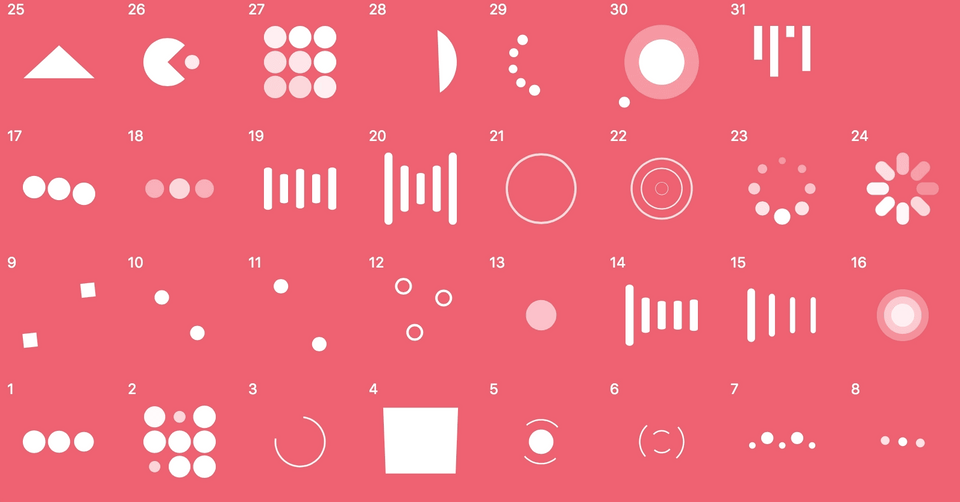
最近在编写自己的独立应用,其中需要用到一些加载等待动画效果,到 Github 上去找了一圈,发现现有的轮子全是面向 iOS UIKit 的,于是决定将其中一个 NVActivityIndicatorView[1] 移植到 Cocoa 下,由于代码量不算太大,所以移植不算太麻烦,只是过程中遇到过一些坑,这里写下来记录一下。
UIKit -> Cocoa 常用类粗暴替换
相信做过 Cocoa/Cocoa Touch 最最最基础开发的人都知道,AppKit 和 UIKit 之间表面暴露的 API 比较相似,比如:
- UIView -> NSView
- UIImageView -> NSImageView
- UIColor -> NSColor
- ...
由于这些类的 init 方法基本一致,所以可以直接通过文本编辑器的查找替换功能实现。
UIBezierPath -> NSBezierPath
Cocoa 和 UIKit 现在在我看来已经快是两个不同时代的东西了,Cocoa 现在给我的感觉就是苹果现在根本没有对这东西进行维护了,包括 Cocoa API Swifty 化,所以 UIBezierPath 和 NSBezierPath 现在在使用上有一定区别。
UIBezierPath 上的方法:
func move(to: CGPoint)
// Moves the receiver’s current point to the specified location.
func addLine(to: CGPoint)
// Appends a straight line to the receiver’s path.
func addArc(withCenter: CGPoint, radius: CGFloat, startAngle: CGFloat, endAngle: CGFloat, clockwise: Bool)
// Appends an arc to the receiver’s path.
func addCurve(to: CGPoint, controlPoint1: CGPoint, controlPoint2: CGPoint)
// Appends a cubic Bézier curve to the receiver’s path.
func addQuadCurve(to: CGPoint, controlPoint: CGPoint)
// Appends a quadratic Bézier curve to the receiver’s path.
func close()
// Closes the most recently added subpath.
func removeAllPoints()
// Removes all points from the receiver, effectively deleting all subpaths.
func append(UIBezierPath)
// Appends the contents of the specified path object to the receiver’s path.
var cgPath: CGPath
// The Core Graphics representation of the path.
var currentPoint: CGPoint
// The current point in the graphics path.
而到了 NSBezierPath 关键词由 add 变成了 append:
Shapes to a Path

func append(NSBezierPath)
// Appends the contents of the specified path object to the receiver’s path.
func appendPoints(NSPointArray, count: Int)
// Appends a series of line segments to the receiver’s path.
func appendOval(in: NSRect)
// Appends an oval path to the receiver, inscribing the oval in the specified rectangle.
func appendArc(from: NSPoint, to: NSPoint, radius: CGFloat)
// Appends an arc to the receiver’s path.
func appendArc(withCenter: NSPoint, radius: CGFloat, startAngle: CGFloat, endAngle: CGFloat)
// Appends an arc of a circle to the receiver’s path.
func appendArc(withCenter: NSPoint, radius: CGFloat, startAngle: CGFloat, endAngle: CGFloat, clockwise: Bool)
// Appends an arc of a circle to the receiver’s path.
func appendGlyph(NSGlyph, in: NSFont)
// Appends an outline of the specified glyph to the receiver’s path.
func appendGlyphs(UnsafeMutablePointer<NSGlyph>, count: Int, in: NSFont)
// Appends the outlines of the specified glyphs to the receiver’s path.
func appendPackedGlyphs(UnsafePointer<Int8>)
// Appends an array of packed glyphs to the receiver’s path.
func appendRect(NSRect)
// Appends a rectangular path to the receiver’s path.
func appendRoundedRect(NSRect, xRadius: CGFloat, yRadius: CGFloat)
// Appends a rounded rectangular path to the receiver’s path.
考虑到框架同时支持 iOS 和 macOS 的需求,这里最好是通过添加 Extension 的方式来给 Cocoa 补齐 UIKit 上的一些方法,举个例子:
import UIKit

func addArc(withCenter: CGPoint, radius: CGFloat, startAngle: CGFloat, endAngle: CGFloat, clockwise: Bool)
添加 Extension 代码:
import Cocoa

extension NSBezierPath {
	func addArc(withCenter center: CGPoint, radius: CGFloat, startAngle: CGFloat, endAngle: CGFloat, clockwise: Bool) {
		appendArc(withCenter: center, radius: radius, startAngle: startAngle, endAngle: endAngle, clockwise: clockwise)
	}
}
这样包装一层 API 就可以不需要更改原本已经为 iOS 写好的代码了。
NSBezierPath addArc 方法需要注意的一个坑
这个问题当时困扰了我好几个小时,现在看来,完全就是粗心造成的,两个成员方法看似参数完全一致,其实是有很大不同的,不同的地方就在于 startAngle 和 endAngle 参数的单位不同。
UIBezierPath.addArc 需要传入的开始角度和结束角度为弧度值,比如半圆就是 π ,在 Swift 里表示为 Float.pi、 Double.pi 或者是 M_PI 。
而在 NSBezierPath.addArc 里参数表示为角度值,比如半圆就是 180°。
所以需要修正一下之前的代码:
import Cocoa

extension NSBezierPath {
    func addArc(withCenter center: CGPoint, radius: CGFloat, startAngle: CGFloat, endAngle: CGFloat, clockwise: Bool) {
        appendArc(withCenter: center, radius: radius, startAngle: angle(fromRad: startAngle), endAngle: angle(fromRad: endAngle), clockwise: clockwise)
    }

    private func angle(fromRad rad: CGFloat) -> CGFloat {
	    var result = (rad / CGFloat.pi * 180.0)
	    while result > 0 && result > 360.0 {
	        result -= 360.0
	    }
	    while result < 0 && result < -360.0 {
	        result += 360.0
	    }
	    return result
	}
}
NSView 和 UIView 的坐标原点
众所周知,iOS 开发 UIView 是以左上作为坐标原点来计算每一个视图的位置的,而到了 NSView 里面,坐标原点为左下。所以在将 NVActivityIndicator 移植到 Cocoa 之后,需要对坐标进行翻转转换。
适用于这个个动画框架的一个比较简单的解决方法就是设置 isFlapped 为 true:
public class NVActivityIndicatorView: NSView {
	override public var isFlipped: Bool {
		get {
			return true
	       }
	}
	// ...
}
同时支持 iOS 和 macOS 框架
目前我 fork 来一份代码到自己本地仓库,并新建了一个只支持 Cocoa 的版本,未来有机会会尝试把两个 target 整合到一个项目文件里去。